There are traces of home spring cleaning as far back as 3,000 years ago in Persian culture. They called it khaneh tekani, which translates to “shaking the house.”
While the obvious benefits of spring cleaning are sweeping up the dust and clutter that accumulates over a year, the Persians also believed it would prevent bad fortune in the upcoming year.
It used to be that stay-at-home moms would turn their houses inside out and upside down, and the family would live in relative chaos for the duration. Now that most moms don’t have the unbroken days and weeks to clean, it may seem like an overwhelming job.
But, there are ways to break down the job into manageable chunks and one that doesn’t turn your house upside down for extended periods. By starting from the inside out, spring cleaning will take more time but be much more doable.
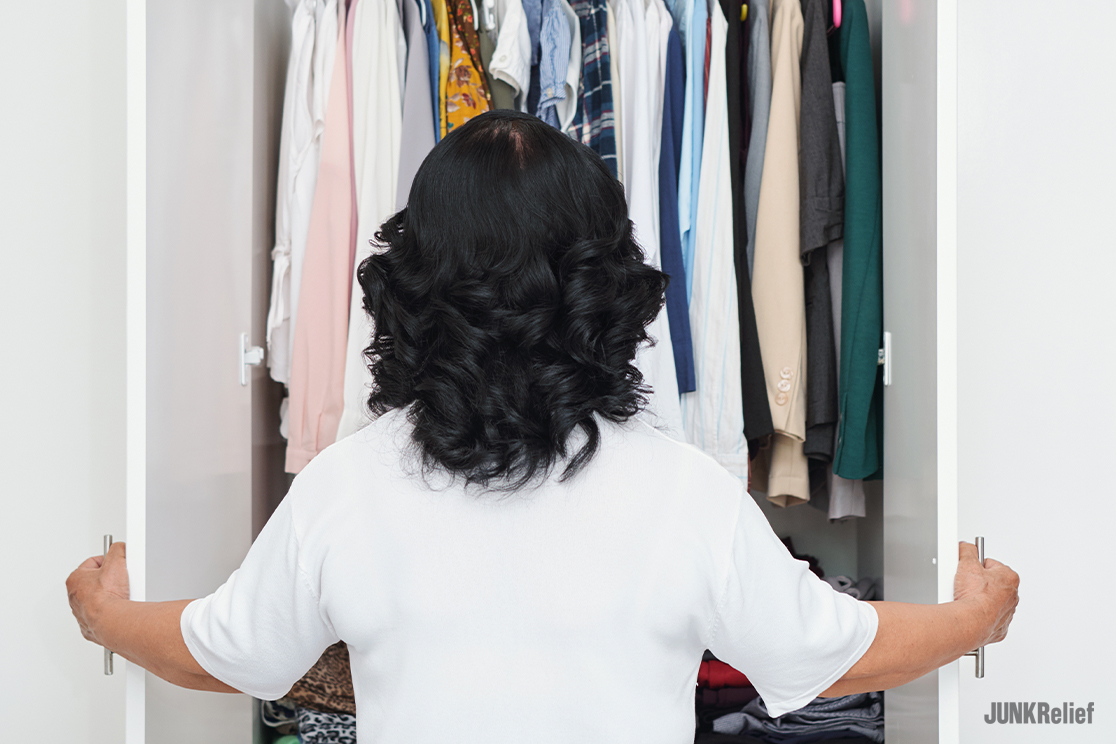
Pick one room to focus on, and first, empty all the closets, dressers/wardrobes, and cupboards. Dump everything onto the floor or bed, or another surface. This, of course, is the perfect time to reassess whether everything that’s now out of whatever type of storage the items have been hiding in should be returned.
Have a good amount of big plastic bags or empty boxes to place everything you no longer need or have any use for. Make one pile each for:
Things to go into the trash
Things that can be sold
Things to be given away to someone personal you know would benefit from it
Things to be donated to a thrift shop
After that, set aside anything that needs to be cleaned and repaired before it gets replaced. Now you’re ready to thoroughly clean the inside of the storage unit.
Closets: Use a long-handled duster and sweep around the corners of the ceiling to sweep away the cobwebs that like to hang around in dark places. Wipe the walls down as well as the closet shelf or shelves and clothes rod with a damp cloth.
If the wall paint finish is eggshell, you can make a cleaning solution by diluting a drop or two of liquid dishwashing soap in a half-gallon of warm water. Or, if you prefer a natural solution, mix 2 tablespoons of white vinegar with a half-gallon of warm water.
Cleaning Solution:
One or two drops of liquid dishwashing soap
½ gallon of warm water
All-Natural Cleaning Solution:
2 tablespoons of white vinegar
½ gallon of warm water
Use a well-wrung-out cloth to wipe the walls and shelves and any baseboards. Then rinse everything again with a clean, damp sponge. Don’t get your walls too wet; dry them with a soft, clean cloth if they get wetter than intended.
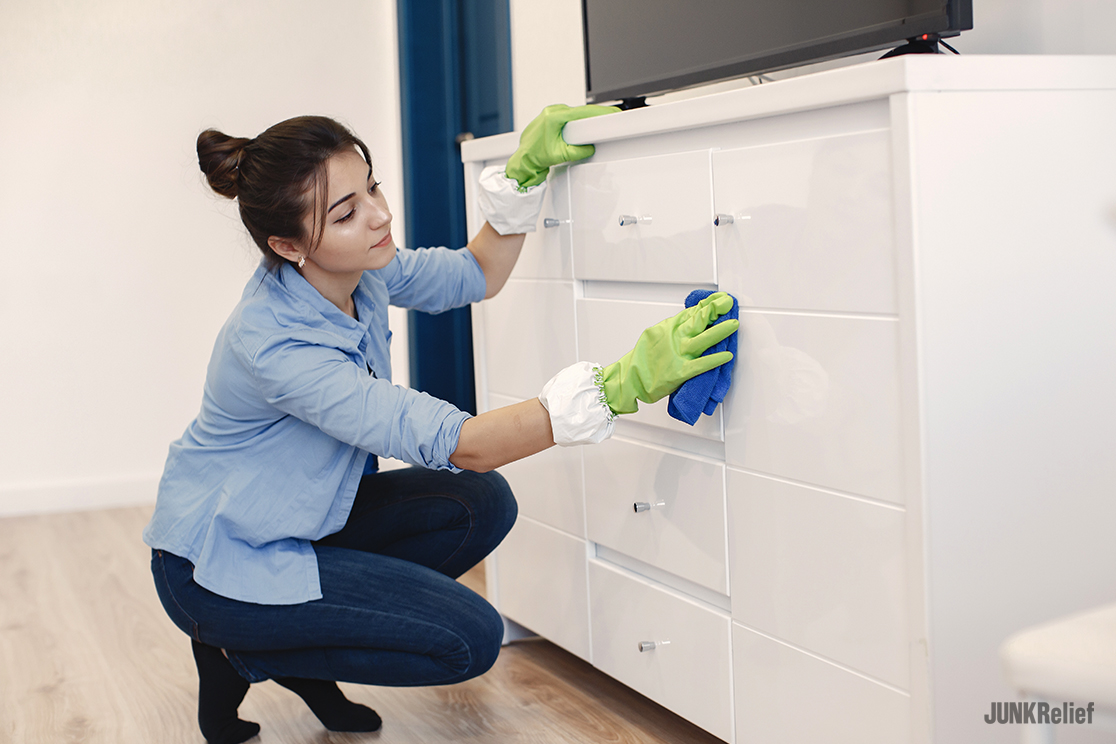
Dressers/wardrobes: Pull all the drawers out of the dresser and wardrobe and place them aside. Pull away from the wall so you can access all the sides. Now with a soft brush on the end of your vacuum cleaner’s wand, thoroughly vacuum underneath the back panel and the inside of the dresser and wardrobe frame.
Vacuum inside and outside each drawer and the clothes hanging portion of the wardrobe. Once every part of the furniture is thoroughly vacuumed, it’s a good time to ensure all the rails and runners on the dresser and wardrobe are in good repair. Fix everything that’s broken, and consider placing (or replacing) the drawer liners with one of the over 400 styles at Chic Shelf Paper.
Before you put the drawers back in place, you’ll want to clean the wood. While dusting wood furniture throughout the year is an effective way to clean the piece, a once-yearly deep clean will help keep your wood looking new again.
Better Homes & Gardens suggests using this recipe to clean wood furniture:
Mix equal parts of these four ingredients, apply with a soft cloth, and buff with a clean cloth. Check the article out for even more ways to deep-clean and restore your wood furnishings.
Dressers and wardrobes can be found in more rooms than just bedrooms:
Living room
Dining room
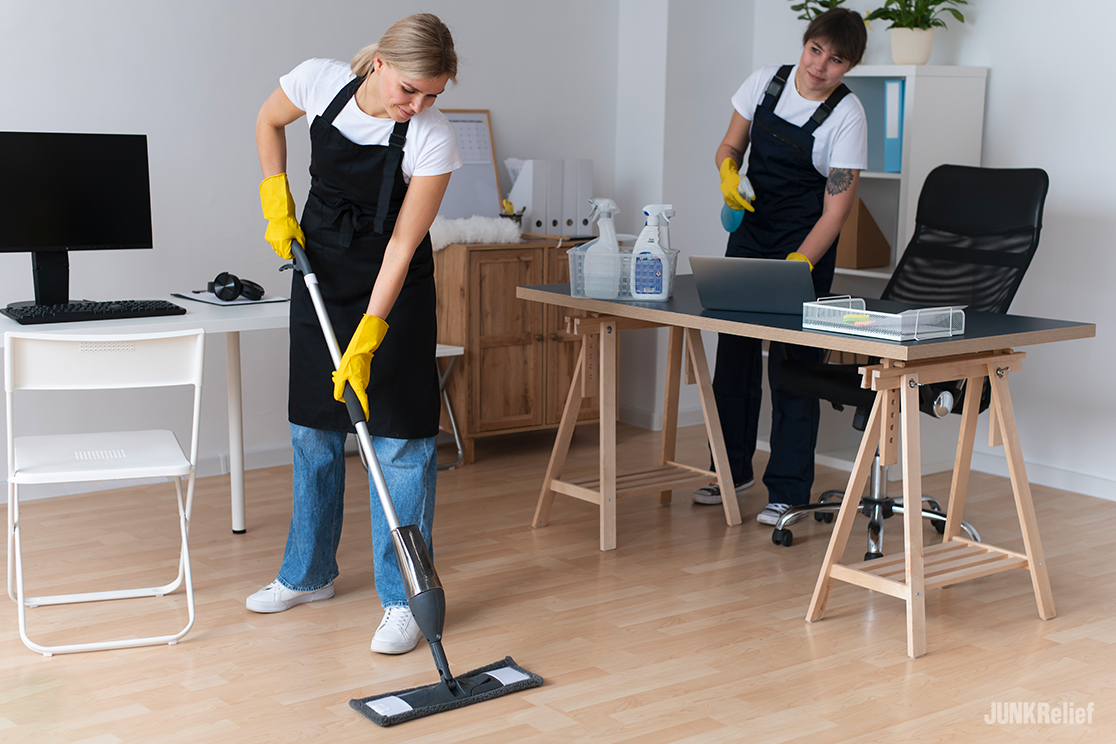
Office
Study/library
Family room/den
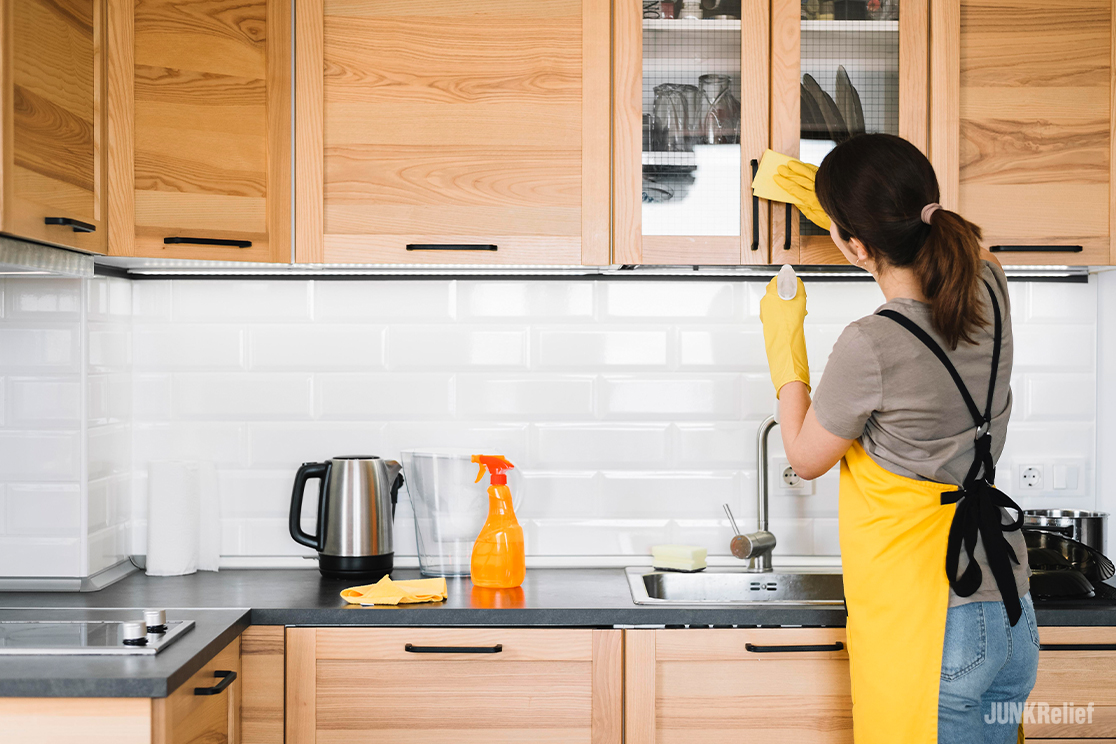
Cupboards: Most cupboards are located in kitchens and bathrooms, and it can feel like a Herculean task to open the doors and drawers and clean them out. But even this job can be done one cupboard at a time and can be manageable.
Empty each cupboard and drawer content onto the counter or island and reassess whether everything should be placed back or if you want to prune some items. Thoroughly wash or wipe clean anything that’s become dirty with use — spice jars, cooking oil bottles, etc.
Vacuum out the inside of each cupboard and drawer with the Cleaning Solution or All-Natural Cleaning Solution suggested above. Then wipe out the cupboard shelves, interior frames, doors, and drawers before reloading them with the pared-down items you took out.
You’ll likely find cupboards in your:
Kitchen
Bathroom
Laundry room
Mudroom
Clean From The Top Down
Once you’ve gone through every closet, dresser/wardrobe, and cupboard in your home, you’ll already start to feel your space is cleaner and healthier!
The next step in spring cleaning is to clean from the top down. It doesn’t make a lot of sense to clean your furnishings before you clean the ceilings, light fixtures, and walls, as the dirt that flies while cleaning the “shell” of a room will fall down on everything inside the room.
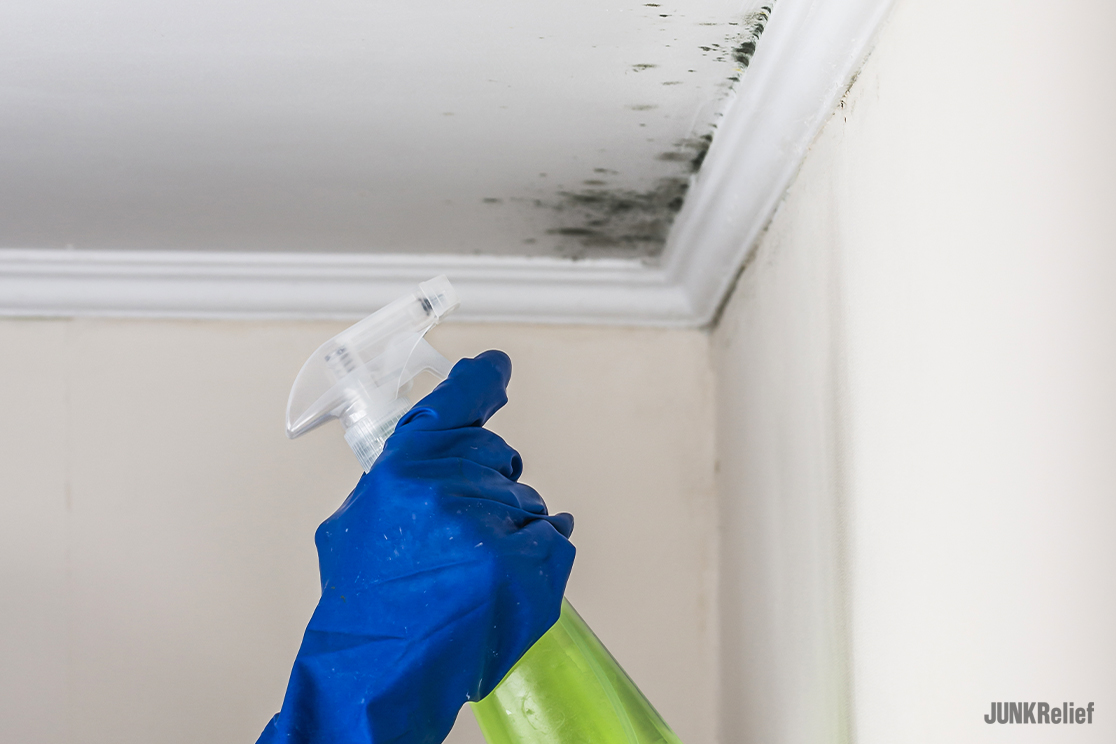
Ceilings and walls
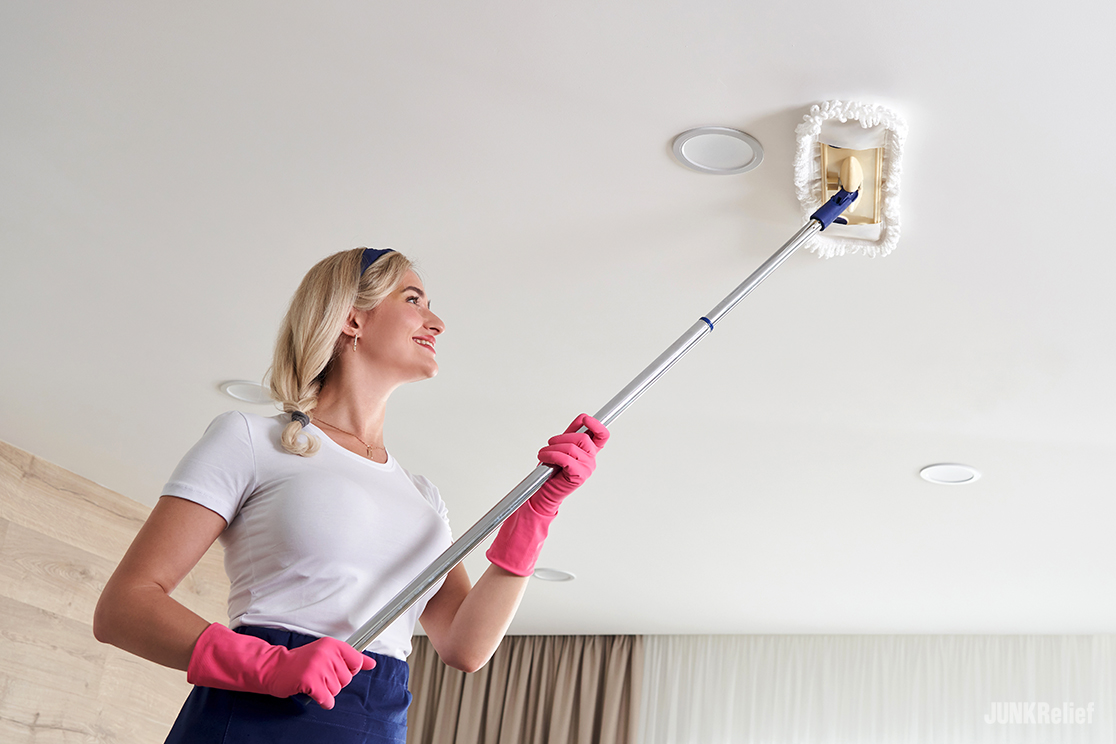
Take a soft-headed flat broom or long-handle duster to wipe away any cobwebs accumulated on the ceiling and corners of the walls. Cobwebs don’t just hang out in corners, so you’ll want to gently sweep the entire ceiling.
If you don’t have a soft-headed flat broom or long-handle duster, you can make one by tying a soft cloth around the end of a broom. Take extra care not to disturb the texture on ceilings with a popcorn finish or scratch the finish on a flat ceiling.
Continue dusting down the walls. Now is a good time to repair any nicks and gouges in the drywall with this easy-to-use drywall repair kit. Wash the walls with the Cleaning Solution or All-Natural Cleaning Solution recipe using the directions from earlier in this article.
Ceiling-mounted light fixtures
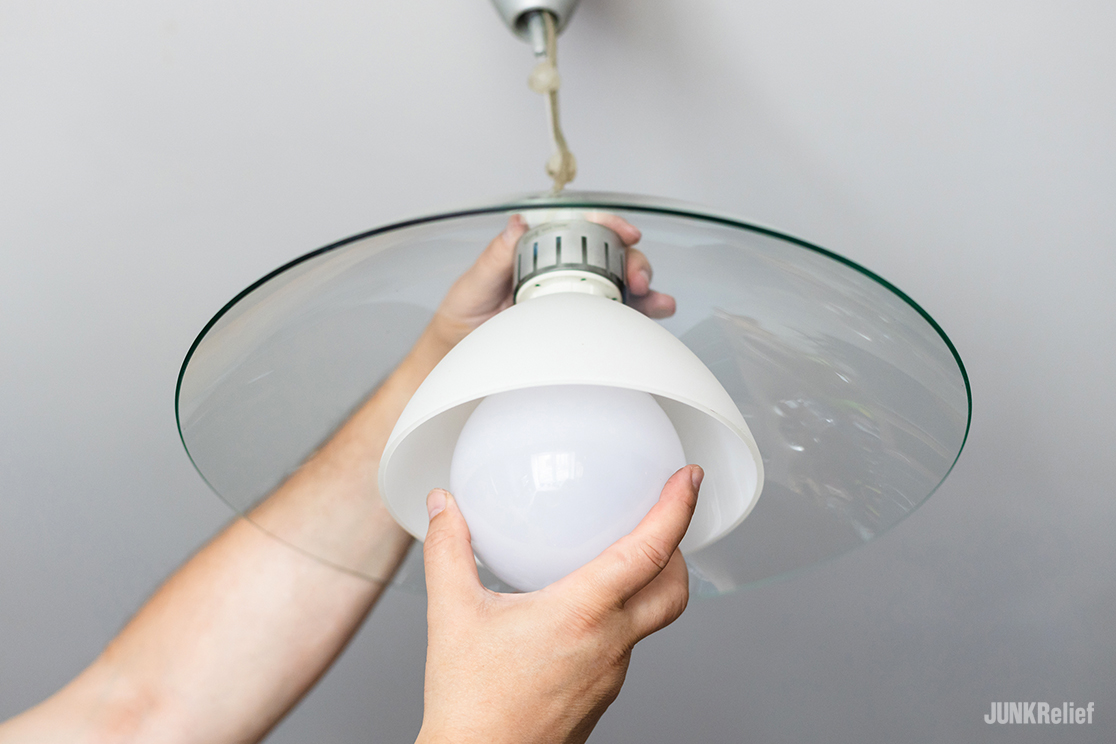
At the same time, you’ll want to clean any and all ceiling lights. Recessed puck lights can be lightly dusted, while flush mount and semi-flush mount lights can be wiped clean according to their finish — glass, metal, or wood.
Many crystal chandeliers are made so that you can take the crystals off the frame and wash them in your dishwasher. The same is true for glass globes that cover a light fixture. Once you remove them from the dishwasher, you’ll want to make sure to remove any water drops before re-installing them.
Doors and trim
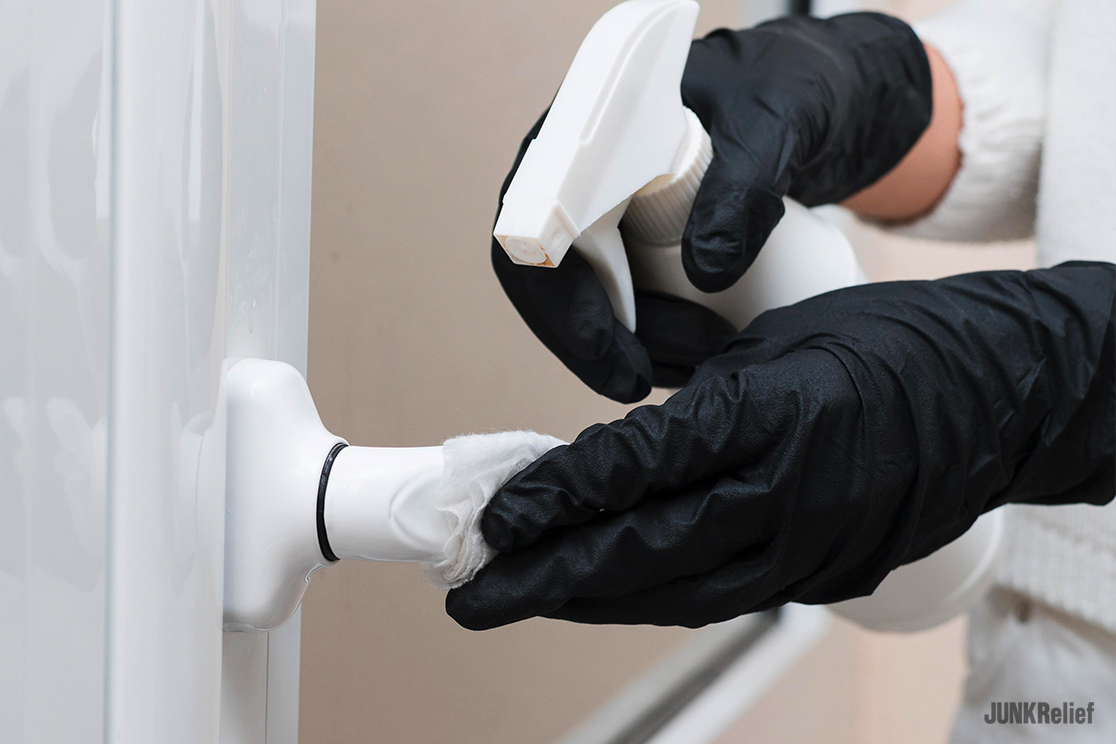
Doors and all trim (door trim, window trim, sills, and baseboards) don’t often get enough cleaning, and spring cleaning time is a great time to pay special attention to these areas! Most painted doors, trim, and baseboards gather oily grime throughout the year and need a cleaner that can cut through grease.
You can use a 50/50 mixture of plain vinegar and water for light cleaning, which won’t require rinsing. Mix one teaspoon of dishwashing liquid OR ¼ cup of oil soap into a gallon of warm water for heavier dirt buildup.
Almost all doors, trim, and baseboards are painted in a semi-gloss finish, but you still don’t want to soak them in water. Use a well-wrung-out cloth to clean, and have a dry cloth handy to wipe dry if the water stays on the surface.
At the same time, wipe all electric outlets and light switch covers installed on the walls. Any cold return wall grates can also be wiped clean — you may even want to remove the cover and vacuum inside the grate hole to pick up dust and any lingering cobwebs.
Window coverings
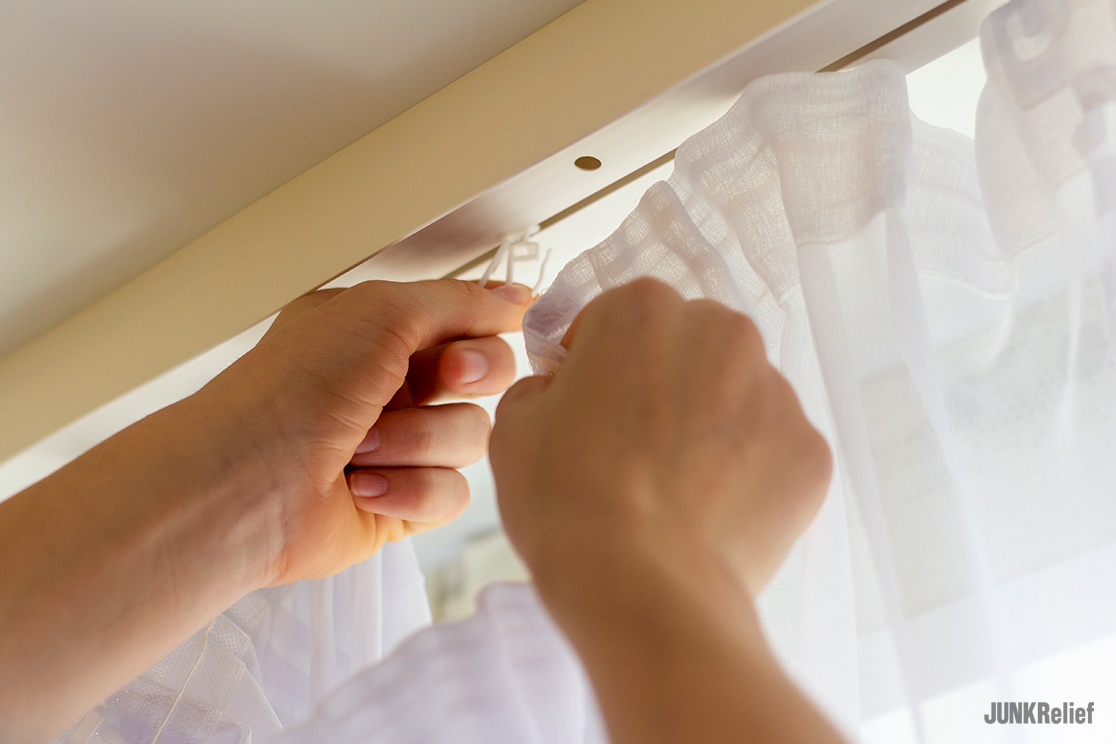
Once you’ve tackled all these items, you can focus on your window coverings. Window coverings are usually either blinds and drapes or a combination of the two.
Blinds come in various materials — wood, rattan, linen, PVC, etc. while drapes are usually made from some type of fabric. Not all blinds can be removed easily and cleaned while staying in place.
Vertical blinds can be removed from the overhead track, which lets you take them out to wash or wipe down each slat. If the width of the blind is less than 60″, you can wash them in your bathtub; if they’re longer, it may be easier to wash them outside.
Not all draperies can be washed in a washing machine, so you’ll want to check the type of fabrication to see whether or not yours can. Check the cleaning instructions before washing or dry cleaning.
Even if your drapes can’t be washed, you can eliminate a year’s worth of dust by taking them out and shaking them out. The most effective way to do this is with two people, each holding two corners on the shorter side.
Bring the drapes together and sharply slap the material in a snapping up-and-out movement. Take the drapes outside, and you’ll be astonished at how much dust gets released from this quick movement! You’ll need to do it several times until you no longer see any dust released.
Clean The Most-Used Room
At this point, you’ve done a lot, but there’s a lot left still to clean. The two biggest cleaning jobs room-wise are the kitchen and bathrooms.
Fortunately, once you’ve cleaned all the insides of the cupboards and closets and everything from the top down, you have done at least half of the work!
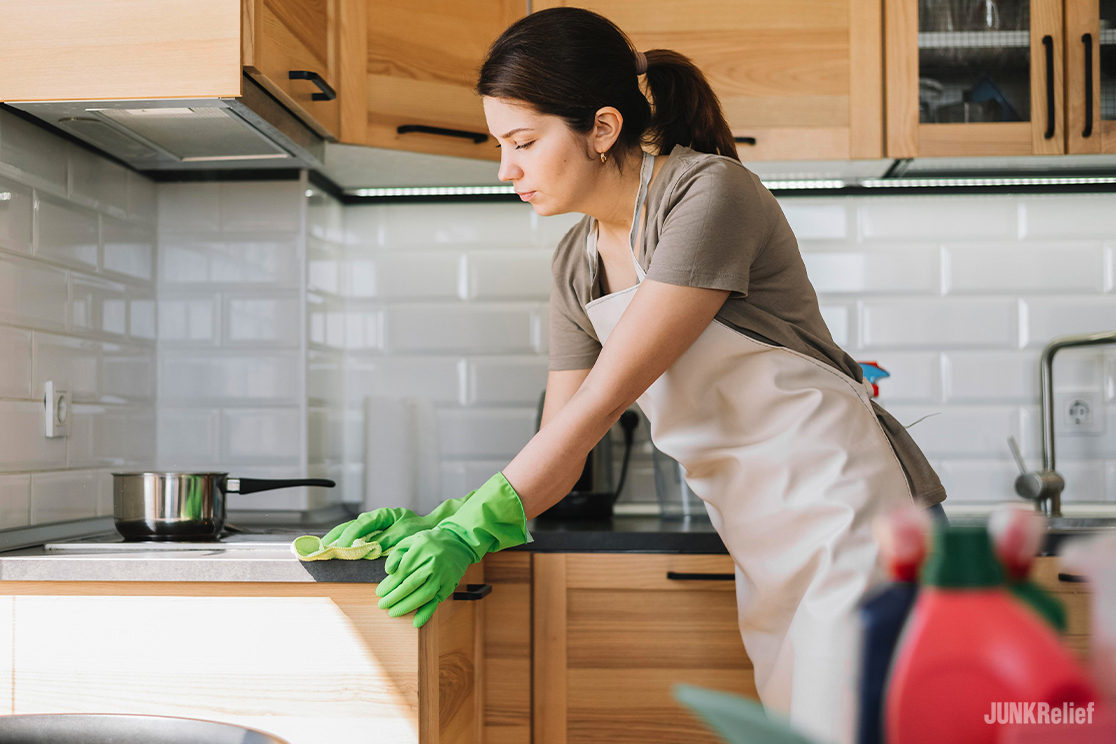
Kitchens
The next big cleaning items in a kitchen are sure to be the appliances — fridge/freezer, stoves/ovens, dishwashers, and microwaves. It’s a coin toss which one takes the most work, cleaning the fridge/freezer or cleaning an oven that’s not self-cleaning!
When cleaning the fridge/freezer, you’ll want to empty it completely and see what bottles, jars, and cans might be past their best-by date. Toss those along with any expired items in the freezer or items that have too much freezer burn.
The interior of fridges, dishwashers, and microwaves can be cleaned with a mixture of vinegar and hot water. The acid in the vinegar breaks down grease and is a food-safe cleaner. Fill a spray bottle with the mixture and spray it into every part of the fridge interior, dishwasher, and microwave before wiping it dry.
Follow the instructions on your oven for how to clean its interior. You’ll need to remove the bottom drawer and clean it on all sides with a combination of soap and water or vinegar and water. Clean the top of the stove as usual, just paying extra attention to clean it more thoroughly than you can during the year.
Thankfully, this next step only needs to be done once a year. Pull all your appliances away from the walls so you can wipe up all the dirt, crumbs, and goop that falls behind and beside the appliance. Also, wipe down the walls, vacuum, and wash the floors thoroughly before replacing them.
Scrubbing out your stainless steel sinks and taps, wiping your counters, and any backsplash tile are almost the final touches to spring cleaning your kitchen.
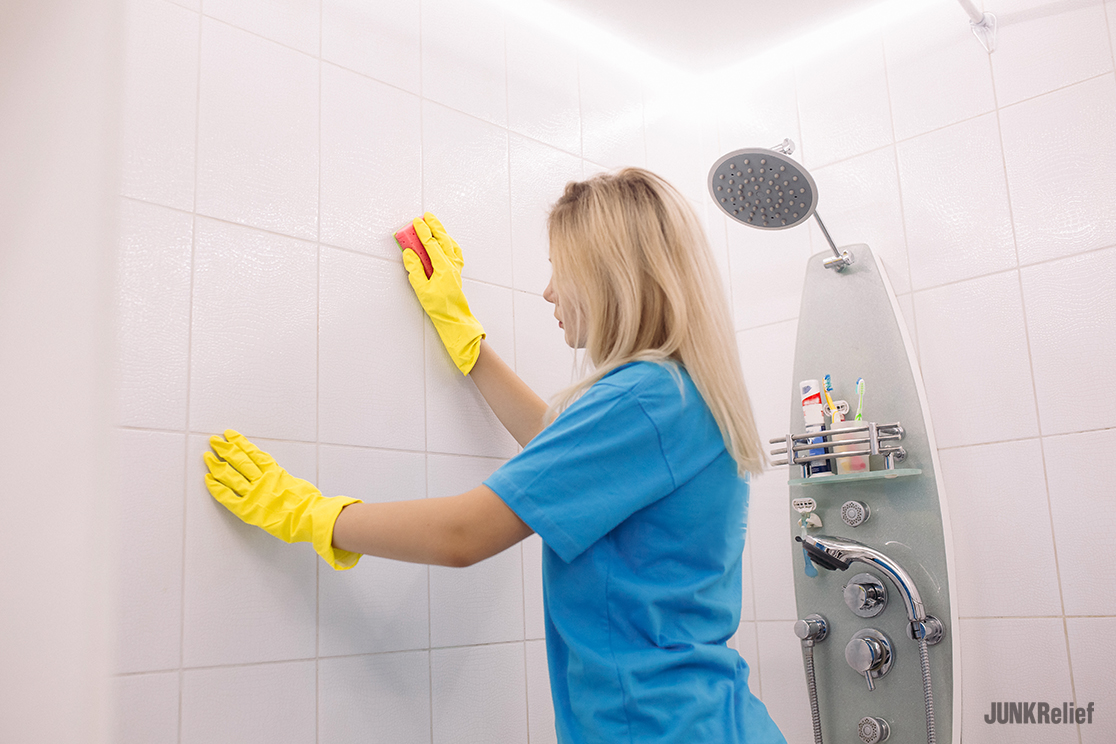
Bathrooms
When it comes to spring cleaning your bathrooms, by the time you’ve cleaned from the inside out and from the top down, you’re left with just cleaning tile and porcelain (as well as the counters, sinks, and taps).
The best and simplest way to clean all of these things is to mix up the following recipe:
Stains, Soap Scum, and Grime Cleaner
1 cup warm water
2 cups white vinegar
1 tsp of a vegetable-based dishwashing soap
Place the mixture into a spray bottle and spray on all surfaces. Let it work for 15 minutes, and then use a sponge to wipe clean.
Now is also the right time to thoroughly dust and wipe clean of accumulated grease and any and all decorative items you’ve placed to warm up your space.
Clean Your Stuff
Now that you’ve done the lion’s share of the work, you still have to clean all your stuff, which may seem like child’s play in comparison.
Take all your accessories and decorative items off the furniture, wipe them clean, and dry them. Clean your wood furniture the way we wrote above in cleaning the dressers/wardrobes and any other non-wood furniture with one of the two cleaning recipes.
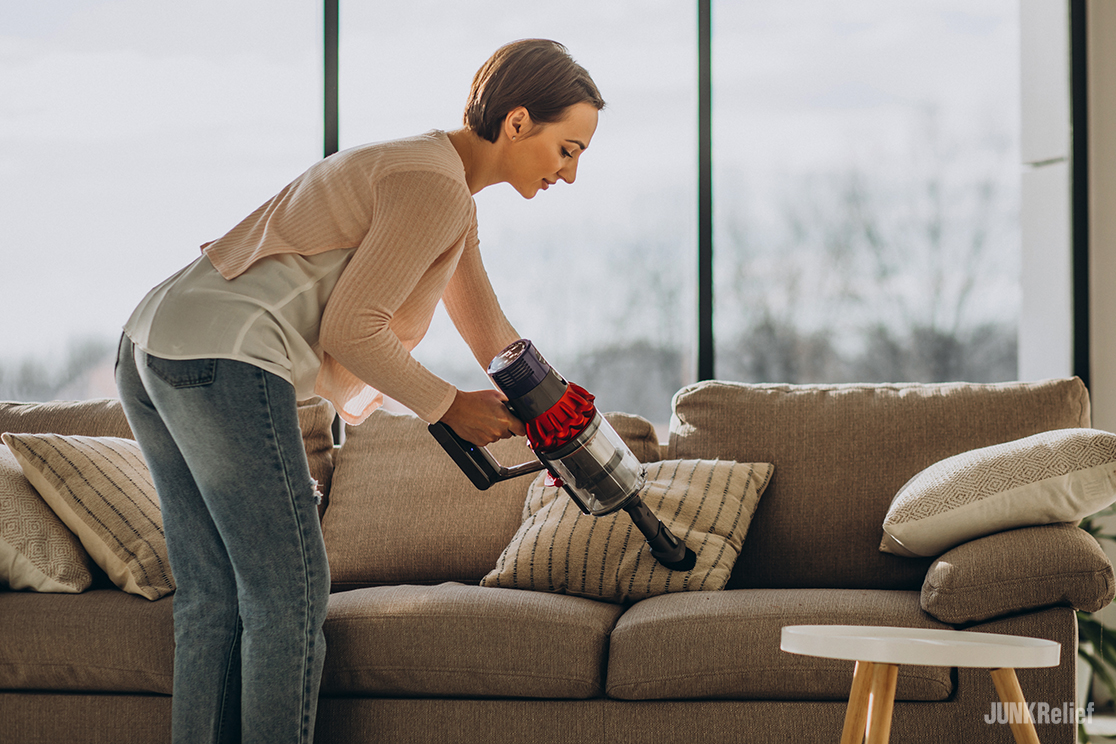
Thoroughly vacuum all upholstered furniture, and don’t forget to tip them on their sides to clean underneath. Vacuum your mattresses and box springs, and take the time to flip your mattress over.
The Big Finale
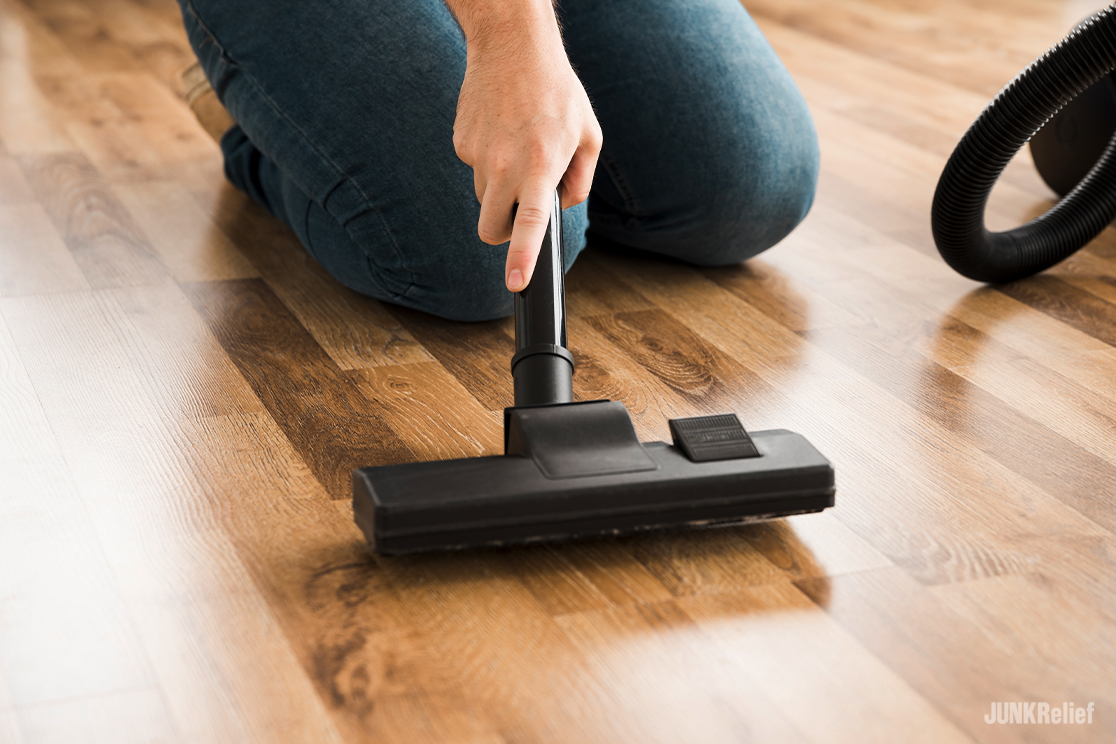
Floors are the final piece of the spring cleaning puzzle. Move everything possible to one part of the room to clean your wood, tile, or carpeted flooring.
Place a nozzle hose on the end of your vacuum cleaner and run it along the edge of the flooring and baseboards. Clean your flooring as you usually do — you just need to clean more thoroughly and in places your cleaner doesn’t usually reach.
And if you’re tired at the end of this project, you’ll be happy knowing that your house is clean from top to bottom and in good shape for whatever this next year brings.
As always, if you’ve accumulated junk you don’t know how to get rid of, contact us at Junk Relief. With all the hard work you’ve just done, isn’t it nice to know that someone’s here to help with at least a part of your project?
SHARE POST
Joe Weidman
Joe is a Chicago native, born and raised in Elmhurst. He founded Junk Relief more than 10 years ago and has worked with more than 20,000 homeowners and businesses throughout Chicagoland. His passion for starting a business in junk removal stemmed from seeing the need to do things differently. He prides himself on his company's model to provide unexpectedly professional service.